
How to create a planted terrarium
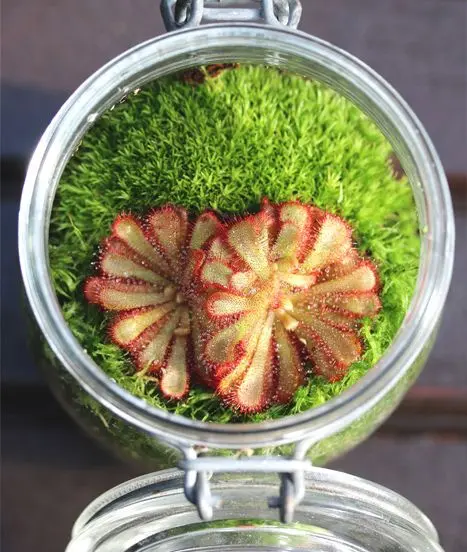
Fancy adding a touch of greenery to your home without too much hassle? Or perhaps you’d like to add a unique piece to your already extensive plant collection – one that you can customise however you like?
Then a planted terrarium is just what you need!
Whilst you can buy ready-made ones, creating your own terrarium isn’t just simple and cheaper – it’s also a brilliant opportunity to design it exactly as you’d like.
In this article, you’ll find a step-by-step guide on how to do it, as well as some basic tips on looking after it.
First and foremost: how do you choose plants for a terrarium?
In a closed terrarium (which will be the basis for the following tutorial), you need to choose plants that thrive in high humidity.
Species from tropical or subtropical forests are therefore ideal candidates!
To create a visually appealing biotope, it’s a good idea to vary the sizes, shapes, colours and textures of the leaves. This will help avoid a landscape that’s too uniform.
However, you must take into account their size, as well as their type and growth rate, as space is limited. Indeed, it would be a shame if your small terrarium were taken over by a single species that blocked your view of the rest of your new seedlings.
Please note: not all plants are suitable for a closed terrarium!
Avoid succulents and cacti, which prefer a dry environment and low humidity; you’d find them rotting very quickly.
Fast-growing and large plants should also be avoided, as they would soon run out of space and their leaves, sticking to the walls, would quickly become a breeding ground for mould and other fungi.
Here are a few examples of plants to consider:
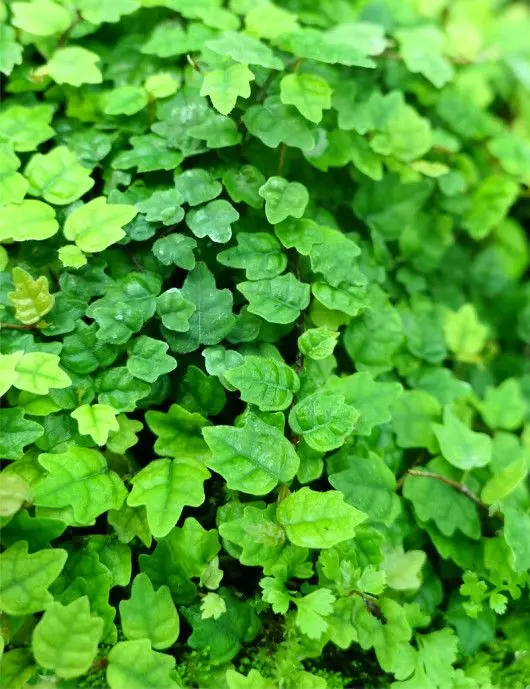
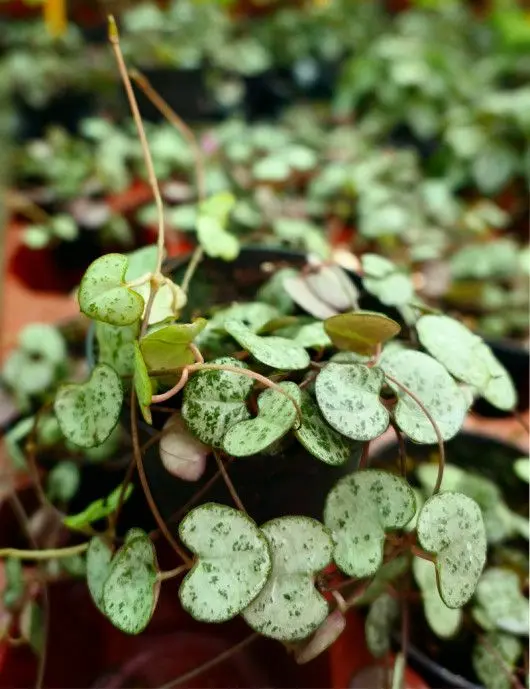
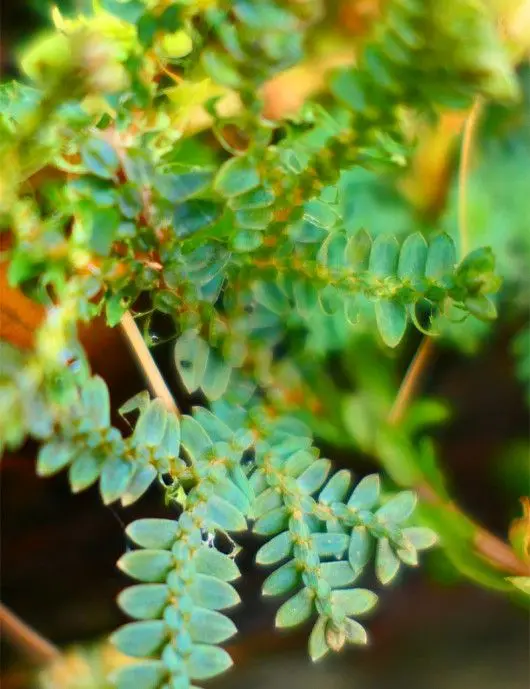
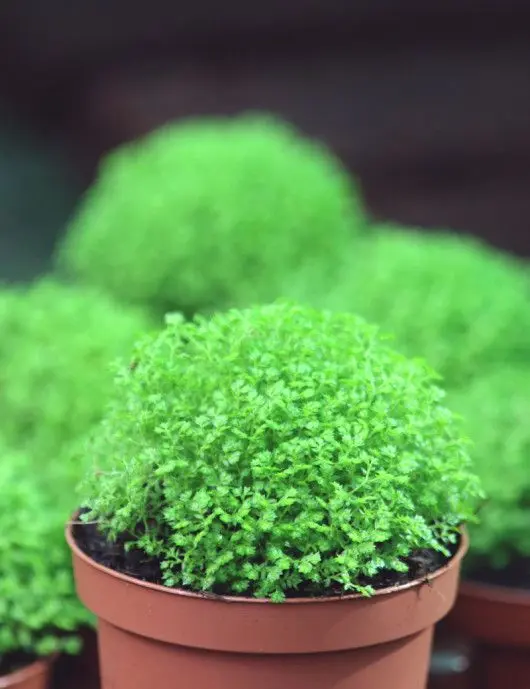
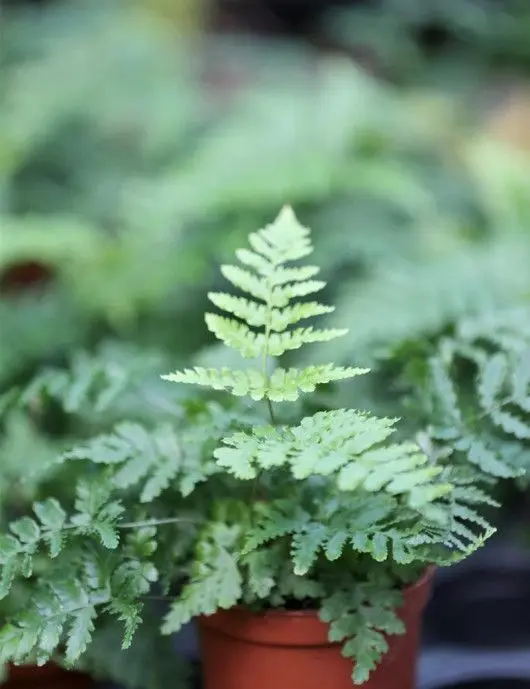
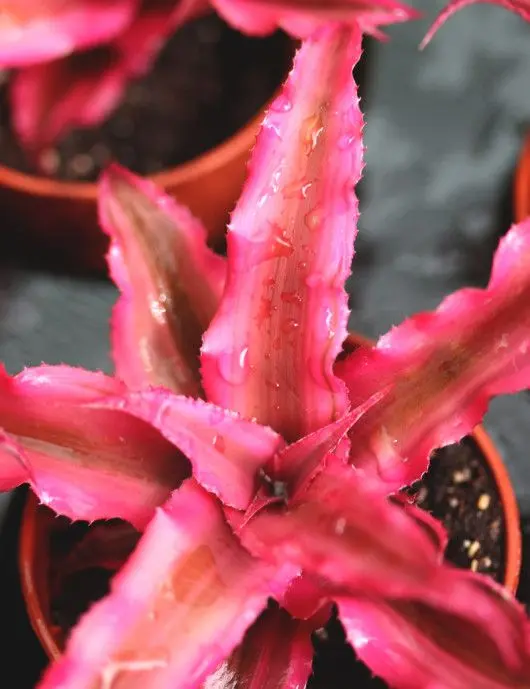
Choosing a container to create a planted terrarium!
The choice of container is also important: the ideal material is glass, as it is inert and rot-proof. What’s more, it’s easy to clean.
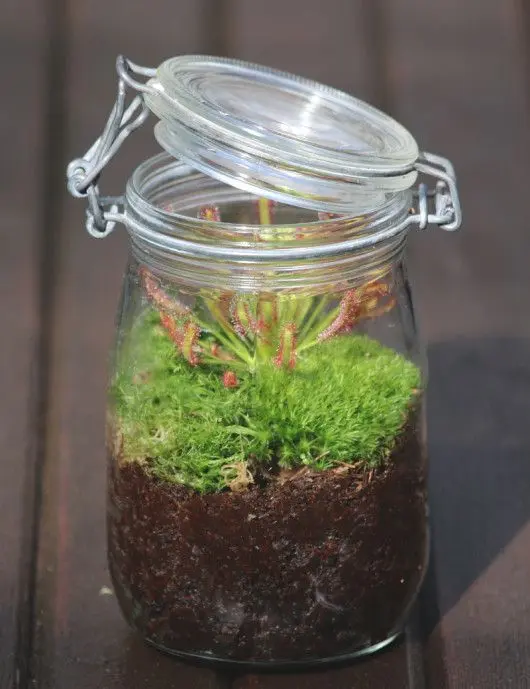
Wood and plastic should be avoided as they are usually treated or release chemicals that are harmful to your plants. Furthermore, wood is a porous material and will rot quickly when it comes into contact with water.
To make things easier for you, choose a container with an opening wide enough to fit your hand through; this will make it easier to arrange the elements as you wish. But if you’ve set your heart on a container with a narrow neck, a pair of long-handled tongs or chopsticks will come in handy! (Choose whichever suits your dexterity best…)
The materials and tools you’ll need:
- Small scissors or pruning shears
- Tablespoon or small gardening trowel
- Medium spray bottle
- A glass container
- Aquarium gravel, very small stones or clay balls
- Activated charcoal
- Horticultural compost
- Perlite
- Natural moss
- Attractive stones and rocks
- Shells and seashells
- Wood, roots, bark, xaxim.
How do you go about creating your planted terrarium?
- Clean the container; water and a microfibre cloth will do the trick. Avoid using household cleaning products, as any residue left on the sides could be harmful to your plants and jeopardise your terrarium.
- Place a layer of gravel at the bottom so that any excess water can drain away.
- Add a thin layer of activated charcoal; this will help filter the water and prevent any unpleasant odours that may arise.
- On top of this, add a generous layer of horticultural compost without added fertiliser, mixed with perlite or vermiculite to improve drainage. Remember to leave enough vertical space for the plants you’ve chosen so that they can grow!
- Before placing your plants in their new home, remove them from their pots, remove some of the old potting compost, check that the root system is healthy (the roots should not be dark brown, soft and/or smelly) and, if it is relatively well-developed, you can trim it back slightly; this is known as root pruning and helps to delay the growth of foliage, which is particularly important in such a confined space!
- Place your plants in the container and arrange them according to the look you want to give your terrarium, but also taking into account the growth rates and characteristics of each species.
- Fill in any gaps in the compost if necessary.
- For the top layer, you have several options: leave the surface bare, add stones, sand or live moss. This last option will help the soil stay moist for longer and encourage more life to thrive within this enclosed space; indeed, it provides a habitat sought after by many small invertebrates that are very useful for breaking down dead organic matter (such as withered foliage)!
- You can certainly enhance your terrarium with other natural or man-made elements: small rocks, shells, pieces of wood, various decorations…
- Once you’ve finished setting it up, you’ll need to water it: here, too much is the enemy of the good!
Your plants’ roots mustn’t be left standing in water, otherwise they’ll rot, so it’s important to be gentle. It’s best to use a mist sprayer, which will help remove any soil residue that may be stuck to the glass walls.
Also, opt for rainwater or reverse-osmosis water to avoid mineral build-up and excess mineral content.
For a flawless finish, give the sides a final wipe with a microfibre cloth or newspaper to remove any droplets that might leave marks.
Final tips for your planted terrarium
- Do not place your terrarium in direct sunlight. This will create a greenhouse effect, which could well ‘cook’ your plants. What a shame!
- Don’t place your terrarium in a room that’s too dark or has no light either. Your plants need to be able to photosynthesise to survive and thrive.
- Not sure where the ideal spot is, or is your home too dark? Opt for an LED grow light! It’ll provide your plants with the light they need without exposing them to excessively high temperatures. You can even plug it into a programmable socket; that way, it’ll switch on and off automatically every day without you having to worry about it.
- Open your terrarium from time to time. This will allow excess moisture to escape (which is what causes condensation on the walls and prevents you from fully enjoying your new little world), but you can also take the opportunity to remove dead leaves and prune plants that are becoming too large or overgrown.
- For the more curious or experienced amongst you, it’s entirely possible to create a virtually self-sustaining biotope by introducing detritivorous invertebrates such as isopods or springtails. These tiny creatures play a major role in this closed ecosystem by feeding on decomposing organic matter, rot, bacteria and micro-organisms, and by enriching the soil with their droppings. However, you must remember to provide them with supplementary food, such as small pieces of vegetables, fruit, dead leaves or wood, and crumbled eggshells.
We hope you have found this guide useful; please feel free to send us photos of your projects to contact@karnivores.com
For sale in the Karnivores shop
Love Carnivorous plants? Don't miss our plants and exclusive offers in the online shop.
Read next
Saxifraga candelabrum: the flowering plant that confirms a 150-year-old hypothesis by Darwin
How does the Venus flytrap detect its prey? A 2025 study sheds light on its ‘sixth sense’
Growing Tillandsia from seed: a comprehensive guide to successful germination
Do Dionisian traps run on electricity?
How carnivorous plants digest their prey
Which plants can you grow on xaxim?