
How do you repot a cactus without getting pricked?
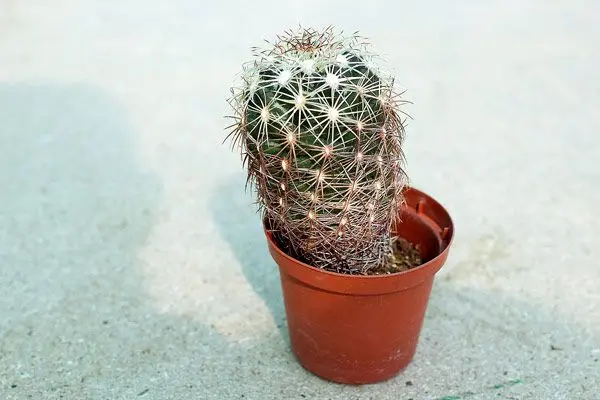
Are you growing a cactus and feeling a bit daunted by the prospect of repotting it? After all, there’s good reason to be: those spines are designed to deter any contact.
This guide shows you the correct procedure for repotting your cactus and offers a few tips to ensure the process goes smoothly.
When should I repot my cactus?
You should consider repotting when:
- The cactus has outgrown its pot in width, or its height is more than five times that of the pot.
- The soil is very compacted, hard or poorly drained.
- The pot is unstable due to the weight of the plant.
Repotting is best done at the end of winter, and every 2 to 3 years.
Which pot should you choose?
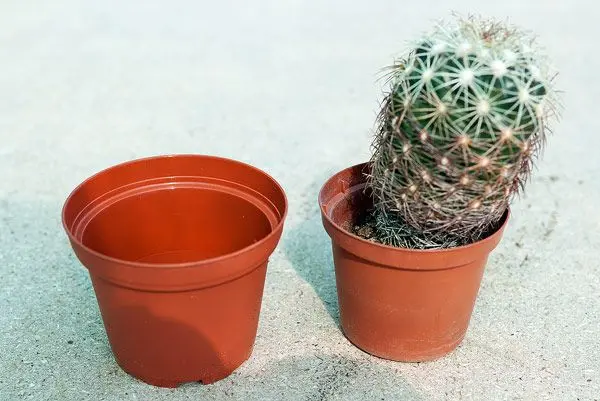
The choice of material (plastic or terracotta) isn’t particularly important for a small plant; however, a large columnar cactus is more stable in a terracotta pot, which is much heavier. Drainage holes are essential.
- For a globular cactus, choose a pot that is wider than it is tall, with a diameter at least equal to that of the plant.
- For a columnar cactus, choose a pot that is shorter than the plant but at least a third of its height. For example, if the columnar cactus is 15 cm tall, choose a pot that is more than 5 cm tall, whilst also ensuring it is wide enough for the whole plant to fit comfortably!
What growing medium should I use?
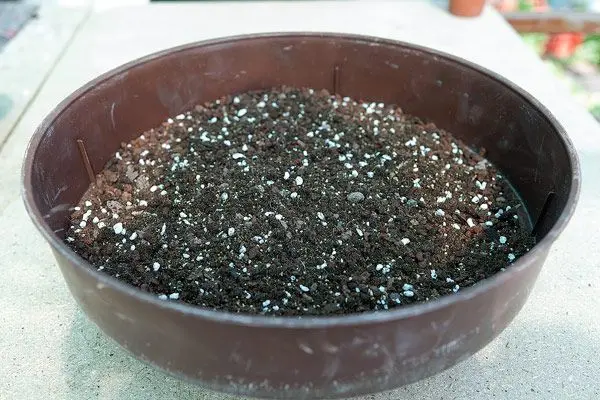
The**cactus mix** should contain about one-third organic matter (horticultural compost) and two-thirds drainage materials such as perlite, quartz sand and pozzolan, as the soil for cacti must be able to dry out quickly after watering!
To begin with, add a layer of pozzolan to optimise drainage. Even if the pot has holes, these eventually become more or less blocked. Using medium-grade pozzolan helps to prevent this problem.
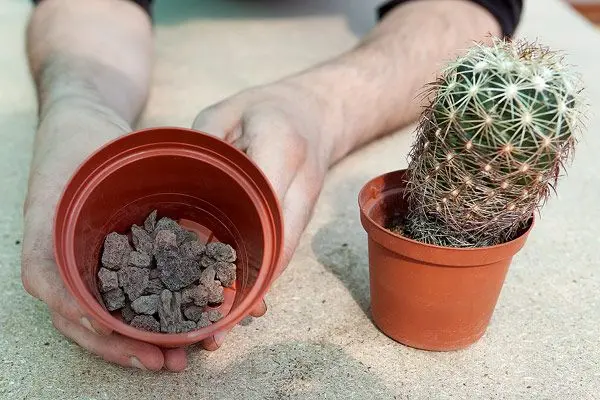
Now it’s time to prepare to remove the cactus from its pot, so you can assess the size of the root ball – which will determine the thickness of the first layer of potting mix to put in the new pot!
How do I handle my cactus without getting pricked?
It is sometimes possible to hold the cactus with your bare hands, if its spines are mainly radial…
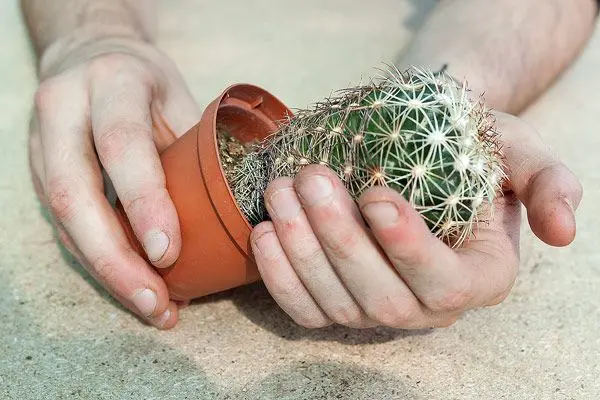
But in many cases, it’s a bit more tricky… Here are a few tips to adapt to the type of spines on the cactus in question:
- Gloves are sufficient for handling cacti with short and/or flexible spines.
- Special cactus tongs can be used for specimens with longer, stiffer spines.
- Several layers of newspaper, or a cloth, can be used to wrap round the cactus and pick it up safely.
- In extreme cases (very long spines, large specimens, etc.), you can use sheets of polystyrene or insulating foam and tip the cactus onto them. The spines will stick into them without breaking, and the plant can be handled more easily.
- You can try to minimise contact with the spines by holding the plant, as far as possible, by the base or even by the root ball.
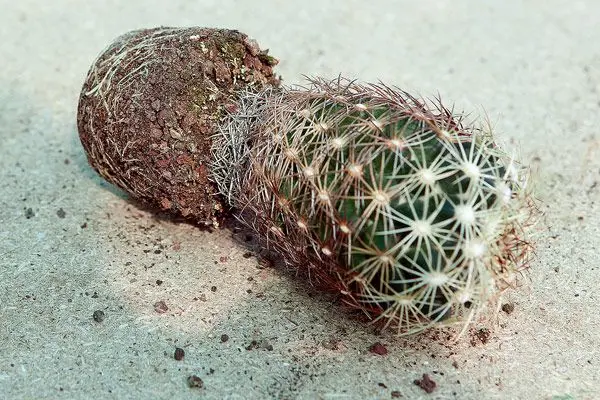
If the root ball is very dense, you can try to loosen it up a little by gently squeezing the root ball to break it up. Otherwise, the only way to loosen them completely is to soak the root ball in water for several tens of minutes, which is not without risk. This is therefore not recommended.
Next, place a first layer of potting mix into the new pot, pressing it down gently. The mix must not be moistened beforehand, to avoid the risk of the roots – which may have been damaged during repotting – rotting.
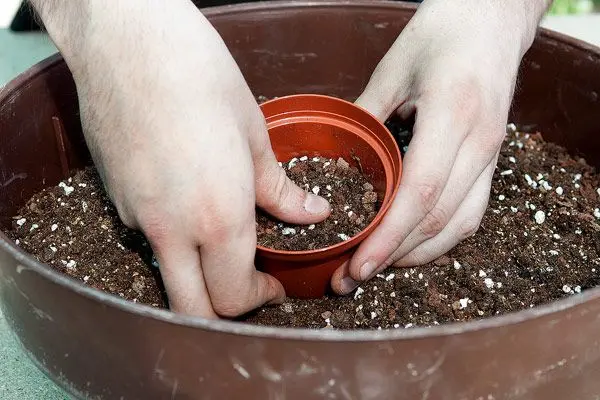
Next, place the cactus in the pot and fill it up with potting mix. To avoid spilling it everywhere and wasting any, simply carry out this step inside the container in which the mixture is prepared.
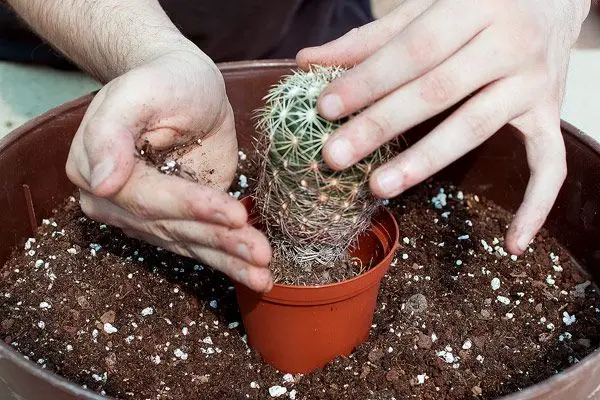
Fill the pot, making sure that the base of the cactus is not buried but protrudes clearly above the compost. After lightly tamping it down, there should be about one centimetre left to the top of the pot…
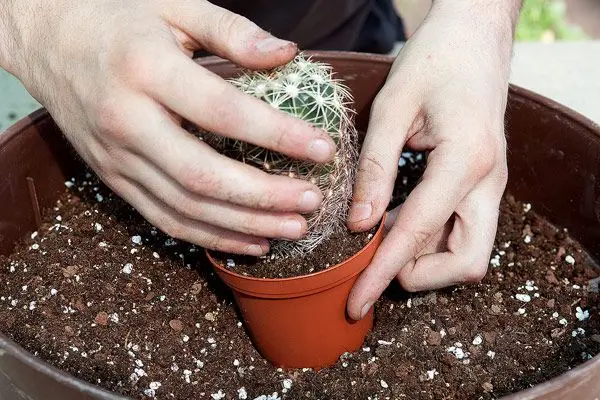
This area is used for mineral mulching, designed to minimise the risk of rot at the base of the stem. You can use 3/6 pozzolan or quartz sand. If the cactus has rust (a dried, yellow to brown-coloured outer layer), ideally the affected area should be surrounded by mineral material. Not only does this conceal the unsightly appearance, but it also prevents it from causing rot, as this is a sensitive area.
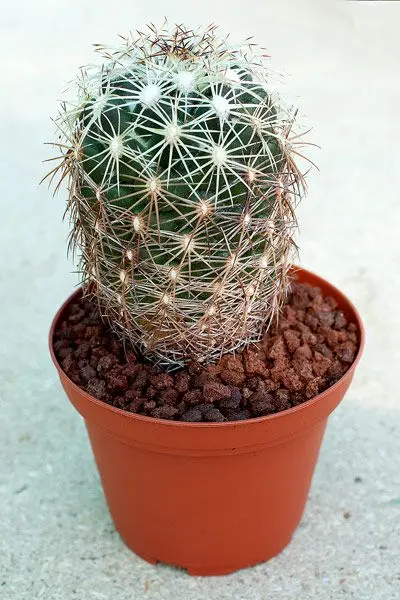
Please note: do not water straight away! It is important to let the roots heal. Wait for about two weeks before watering again.
For sale in the Karnivores shop
Love Growing guide & tips? Don't miss our plants and exclusive offers in the online shop.
Read next
Quartz sand for carnivorous plants: what is it used for and how do you use it?
How to care for and maintain xaxim in a terrarium and a tropical greenhouse
Cork oak bark: an ideal natural substrate for epiphytic plants and terrariums

Free delivery on orders of €59 or more until midnight on Sunday
Oxalis triangularis: growing, care and tips

Dicksonia sellowiana: an iconic tree fern of the xaxim